
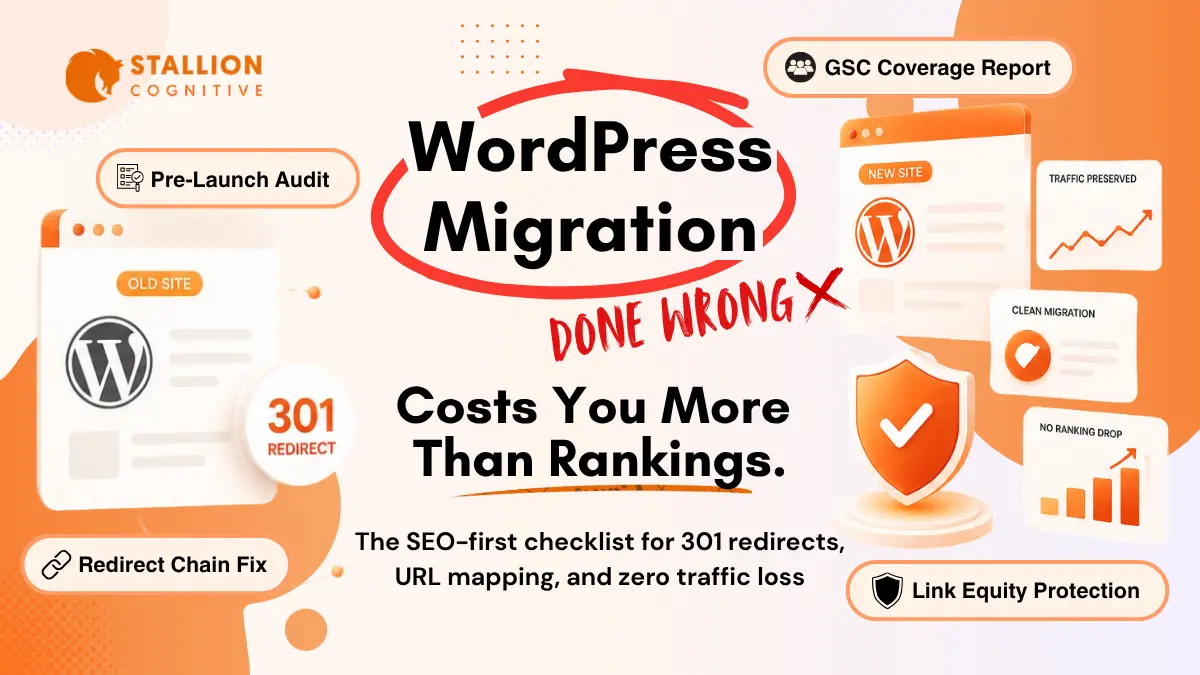
WordPress migrations get treated like website projects. Design, development, launch date. SEO ends up as the last item on the checklist.
That pattern explains most of the traffic drops we've seen after WordPress migrations. In every case, the same handful of steps were skipped, and most of them needed to happen weeks before launch day.
Cover those steps correctly, and your rankings, link equity, and indexed pages all carry through the move. This guide covers each one in the order they need to happen, starting with why migrations cause ranking drops at all.
Why WordPress Migrations Kill Your Search Rankings
WordPress migrations destroy search rankings when the connection between your old URLs and new ones breaks. Missing redirects, changed URL structures, and metadata that fails to carry over all send Google one signal. Content has been removed. It responds the only way it knows how, by dropping those pages from its index.
Google doesn't get a notification that you moved. It just sees that URLs it trusted for months stopped returning the pages it indexed. So what does it conclude? That the content is gone, and those pages get dropped from its index.
The most common culprits behind post-migration traffic drops:
- Missing 301 redirects: Old URLs return 404 errors with no forwarding path to new destinations
- Redirect chains: Every hop between old and new URLs bleeds link equity, and chains of three or more hops are surprisingly common on sites that have been migrated before
- Metadata loss: Title tags, meta descriptions, and schema markup fail to transfer during CMS or host changes
- Duplicate content: Old and new site versions briefly coexist, leaving crawlers unsure which version to rank
- Indexed staging environments: Dev sites left open to crawlers create competing pages that linger post-launch
- Stale internal links: Pages still pointing to old URLs, stacking unnecessary redirect hops throughout the site
When Moz migrated from SEOmoz.org to Moz.com, ranking volatility lasted weeks. And that was with one of the most experienced SEO teams in the industry handling every step. Google needs time to process changed signals, and the more steps you skip, the longer that recovery window gets.
Every single one of these is preventable, and the sections that follow cover exactly how. We built a three-phase framework for it: Lock in your data, Launch with precision, Listen to the signals. We call it the Migration Lock Protocol.
Step 1: Lock In Your SEO Baseline Before Touching Anything
Before you touch a single file, plugin, or DNS record, you need a complete snapshot of your current SEO health. Not because it feels organized. Because without it, you have no way to tell, after launch, whether a traffic dip is normal Google recrawl behavior or a sign that something broke during the move.
Most businesses skip this step and regret it by week two.
What to capture before migrating:
- Organic traffic by page: Open Google Search Console, pull the Performance report, and set the date range to 16 months. Click on Pages and export the data. What you're building is an asset registry: the specific URLs driving your organic traffic that you cannot afford to break during the migration.
- Keyword rankings: In Semrush or Ahrefs, export your top 50 to 100 keyword positions. The column that matters isn't just the keyword, it's which specific page is holding each ranking. That page is what you're protecting.
- Backlinked pages: In Ahrefs Site Explorer or GSC's Links report, find your most-linked pages. A page with 30 external backlinks pointing at it carries real authority. Break that redirect and 30 links effectively go silent. Each one needs a direct, individually tested 301 redirect.
- Core Web Vitals: Run top pages through Google PageSpeed Insights and log LCP, CLS, and INP scores. Use this website speed testing guide to benchmark performance before the hosting change.
- Technical snapshot: Run Screaming Frog on the current site and export the full technical data: canonical tags, title tags, meta descriptions, robots directives. After migration, you'll compare this against the new site to catch anything that quietly disappeared in the process.
- robots.txt and sitemap: Copy both files. You'd be surprised how often a robots.txt file ends up accidentally blocking the new site's most important pages after a migration.
Have you ever launched a site and discovered a technical issue a week later with no idea when it started? The baseline audit almost always uncovers problems that existed before the migration: duplicate canonicals, missing metas, broken internal links. Running a local SEO audit before the move gives you a chance to fix them during the build rather than scrambling for answers after launch.
With the baseline locked, build the redirect map.
How to Map Every URL Before the Migration Begins
URL mapping is the process of pairing every existing URL on your current site with its exact destination on the new one. Done before launch, it prevents the most common site migration disasters: missed pages, homepage dumps, and redirect chains that cost link equity before go-live.
The most common migration mistake isn't a missing redirect. It's building the redirect setup after the site launched, from memory.
How to build the redirect map:
- Crawl the current site in Screaming Frog SEO Spider or Sitebulb. Export every URL returning a 200 status.
- Build a spreadsheet with columns for Current URL, New URL, Redirect Type, and Priority. High priority means top-traffic or backlinked pages.
- Match each URL to its destination. Hosting migrations are one-to-one; redesigns and CMS migration projects need more judgment.
- For discontinued pages with no clear equivalent, redirect to the closest topically relevant page. Word of caution: resist the temptation to funnel everything to the homepage. Google treats those as soft 404s, and the equity barely transfers.
- Sort by Priority. Test high-priority pages first.
| Redirect Scenario | Recommended Type | SEO Impact |
| Same URL, new host | No redirect needed | None, content unchanged |
| Old URL to equivalent new URL | 301 (permanent) | Full equity transfer |
| Discontinued page, similar exists | 301 to nearest equivalent | Partial equity |
| Discontinued page, nothing close | 301 to homepage (last resort) | Minimal equity |
| Temporary page move | 302 (temporary) | No equity transfer |
| Previously redirected URL | Update chain to direct 301 | Restores full equity |
With the map complete, redirect implementation is where the plan holds or falls apart.
Setting Up 301 Redirects That Pass Link Equity
A 301 redirect permanently moves a page and transfers its accumulated ranking authority to the new URL. It's the mechanism that lets your new site inherit the trust your old URLs built. Without it, every backlink pointing to your old pages stops contributing to your rankings.
Here's why this matters. A 302 is temporary and doesn't pass link equity. Using one for a permanent migration costs months of ranking recovery.
For WordPress, use the Redirection plugin by John Godley. It handles individual redirects, bulk rules, and passively logs 404 errors after launch so missed redirects surface automatically.
Four rules that determine whether equity transfers cleanly:
- Always use 301 for permanent moves: The 302 tells Google the move is temporary, so it won't pass your authority to the new URL. This is one of the most common migration mistakes we see. Reserve 302 for genuine short-term redirects only.
- Eliminate redirect chains: If Page A redirected to Page B, and B is now moving to C, update A to point directly to C. Each hop reduces the equity passed through.
- Fix redirect loops before launch: A sends to B, B sends back to A. Crawlers spin forever. Test every rule.
- Stop mass-redirecting to the homepage: Sending all discontinued pages to the homepage tells Google those pages have no relevant new home. Rankings for those keywords disappear.
Want to know the best part? Testing redirects takes 30 minutes. Crawl your top 20 old URLs in Screaming Frog and verify each resolves in a single hop to a 200 before the DNS change.
With redirects tested, everything moves to staging for pre-launch validation.
Staging Site Checklist: What to Test Before Go-Live
A staging environment is a private, blocked-from-crawlers copy of your new site where you validate the full build before it reaches live users and search engines. Every problem you catch on staging is one you don't have to diagnose under launch-day pressure.
Before staging even begins, create a complete backup of your files and database. A disaster recovery plan is your restore point if anything goes wrong.
Staging requirements before any external testing:
- Block crawlers via a password gate or Disallow: / in the staging robots.txt
- Keep staging on a separate subdomain. A subdirectory of your live domain risks crawl leakage.
- Verify the noindex header is active on every page using a browser SEO extension
Launch day checklist (run before any DNS change):
- Confirm staging is fully blocked from crawlers
- Verify all 301 redirects match the URL mapping document
- Check the new robots.txt for accidental blocks on important pages
- Confirm title tags, meta descriptions, and canonical tags match your Screaming Frog baseline
- Validate schema markup using Google's Rich Results Test
- Run PageSpeed Insights on your top five pages and compare scores to baseline
- Confirm SSL is live and HTTP requests redirect correctly to HTTPS
- Update all internal links to point directly to new URLs
Never launch on a Friday. Launch in the morning so you have the full day to monitor.
What to Do in Google Search Console After Launch
Google Search Console is how you communicate the migration directly to Google's indexing system. The actions you take in the first 48 hours after going live determine how quickly pages get re-indexed and how fast rankings stabilize. If you skip these steps, Google processes the move on its own slower timeline.
Now you have to do all four of these on launch day:
1. Submit your updated XML sitemap. Go to Search Console, then Sitemaps. Enter your new sitemap URL. Remove the old entry if it changed.
2. Use URL Inspection on your top pages. Paste your top 10 to 15 pages into URL Inspection and click "Request Indexing." Skip doing this for every page. Google rate-limits manual requests.
3. Change of Address tool (domain migrations only). Go to Settings, then Change of Address. Select the new domain and submit. Per Google's Search Central documentation, this accelerates the transfer of indexing authority to the new domain.
4. Monitor the Coverage report daily for two weeks. A spike in 404 errors means redirects are missing. Pages showing as Crawled but Not Indexed signal content problems on the new site. Fix anything you find within 24 hours.
Check the Coverage report that first morning. Most issues that surface after a migration appear within 72 hours of launch.
How to Track Traffic Recovery After a WordPress Migration
Post-migration monitoring separates a normal recrawl dip from a genuine ranking problem. Google takes one to three weeks to re-evaluate and re-rank migrated pages, and a temporary traffic drop during that window is normal. Watch whether the dip stabilizes by week four.
Track these weekly for 12 weeks:
- Organic clicks and impressions: Compare week-over-week in Google Search Console against your pre-migration baseline. Stabilization by week four is the target. A curve that's still declining at week five needs investigation.
- Indexed page count: A significant drop in the Coverage report that doesn't recover within two weeks points to redirect chain or processing issues.
- 404 errors: Every new 404 after launch is a missed redirect. Fix within 24 hours using the Redirection plugin's built-in 404 log. If you haven't set up a custom 404 page yet, do it now. It keeps users on-site while redirects get fixed.
- Keyword rankings: Fluctuation in weeks one and two is expected. A single page dropping is usually a redirect issue. An entire category of pages dropping together is a mapping problem, and you need to find the URL pattern that was missed.
Here's the deal: migrations with complete redirect mapping, proper GSC setup, and active monitoring consistently stabilize within four to eight weeks. Migrations with gaps in any of those three areas take significantly longer.
For businesses also tracking local SEO ranking factors, local signals take longer to rebuild than standard organic rankings post-migration.
The Real Migration Happens Before You Go Live
By launch day, the hard work is already behind you. The URL map exists. Every redirect has been individually tested. The baseline gives you something real to measure against. That preparation is what makes the difference between a clean migration and a six-month recovery project.
That's the difference between businesses that exit a migration intact and those that spend months in recovery.
If you're planning a WordPress migration and need a team that handles SEO alongside the build, Stallion Cognitive's website design services are built around migrations that protect what you've earned in search.
What does your migration timeline look like? The earlier the planning starts, the cleaner the launch.
FAQs
How long does Google take to re-index a migrated WordPress site?
More than most guides admit. 2 to 6 weeks is typical for clean migrations on smaller sites, but we've seen mid-sized sites still partially indexed at week eight because of redirect chains they didn't catch. Submit your sitemap and request indexing on top pages through Search Console at launch.
Does changing WordPress hosting cause ranking drops?
Hosting itself rarely causes ranking drops. The transition is where things go wrong. Downtime, IP propagation, and server misconfigurations during the switch can confuse Googlebot for days, and that shows up as temporary ranking dips. Keep the window short. Watch Coverage in Search Console daily for the first week.
When is the best time to run a WordPress migration for SEO?
Mid-week and during off-peak hours is the safest window. Beyond that, the bigger factor is timing it away from algorithm updates (check Google's Search Status Dashboard), major campaigns, and peak seasonal periods. All three make post-migration traffic analysis much harder to read accurately.
Do WordPress migration plugins transfer SEO settings automatically?
Migration plugins like Duplicator carry your database across, including Yoast or RankMath settings, title tags, and meta descriptions. But they stop there. Anything server-level, meaning redirects, URL structure, and DNS, still needs manual setup. Think of the plugin as a moving truck. It moves boxes. You connect the utilities.
What happens to backlinks when you migrate a WordPress site?
None of your backlinks move automatically. Every one stays pointed at the old URL until a 301 redirect is live there. With the redirect in place, authority passes through. Without one, link equity stops at a dead URL. Auditing your backlink profile is one of the first pre-migration steps.